Four Easy Steps To Create Your Own Black And White Negatives
Do you want to print images in a darkroom but you don't have a film camera? Or do you have that great digital image you wish you had a traditional black and white silver halide print of it? And with some printing techniques you don't even have to have a darkroom (read on to the end to learn how).
In this article, I am going to show you how you can create black and white negatives from digital files in ON1.
Although you can do this with color images, it is far easier and the effect of what you are doing is more clearly visible when using an image that is black and white already. So use one of your black and white images, or first convert a color image to black and white.
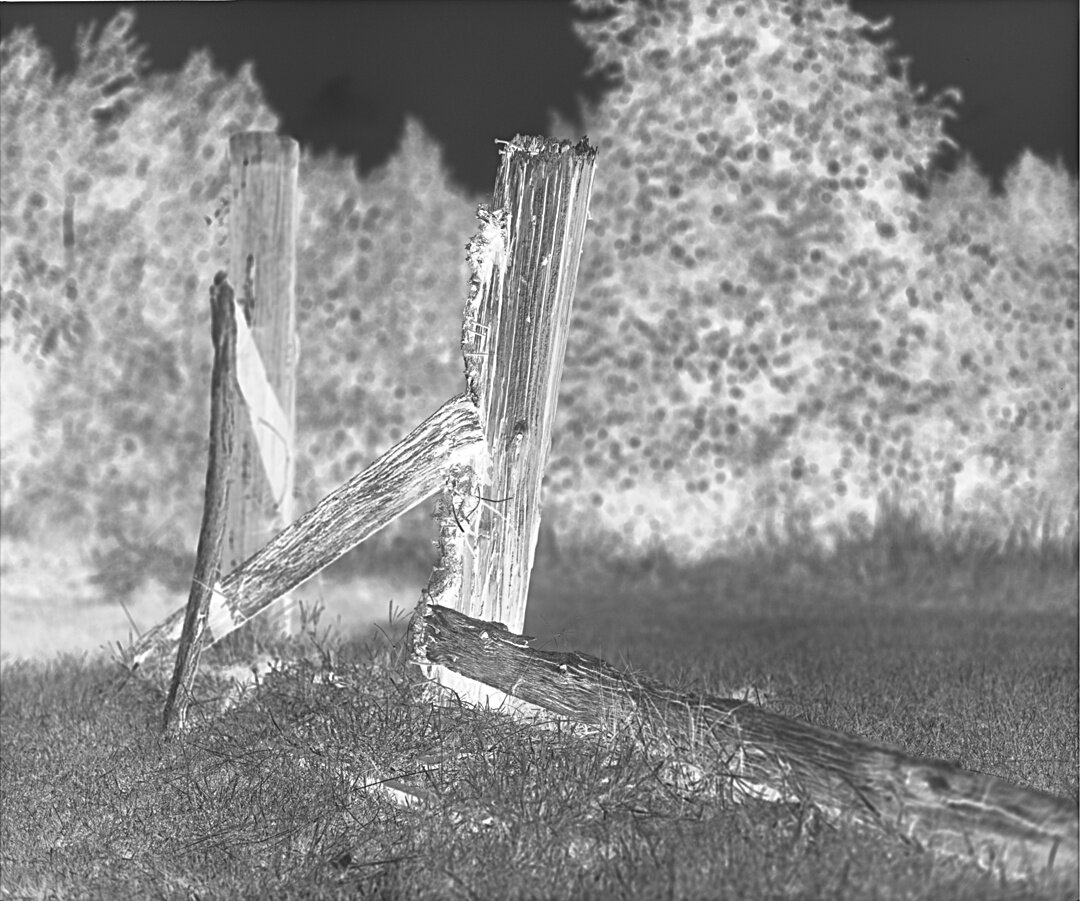
For this example I am going to use a black and white image of an old coral, that was selected for the CRUTHACHADH show of The Glasgow Gallery of Photography.
Step 1: Go To The Effects Section Of the Edit Module
After selecting your image in the ON1 Browser and going to the Edit Module, you click the Effects button to add a filter. As you see, I also selected the Levels button at the top. This is not necessary, but it shows me the histogram which is helpful in case I would like to check if I wanted to make some exposure changes first.
Step 2: Select Curves In Effects
Click the Add Filter button and select Curves
After doing this, you will see the curves section as shown below.
Step 3: Move The Sliders
The next thing you want to do is moving the left slider all the way to the top (see first image below) and move the right slider all the way to the bottom (see second image below).
And that is basically all. After having reversed the curves sliders, as shown above, the image should look as in the screenshot below.
Congratulations! You just created a negative black and white image in ON1.
In a couple of easy steps, you went from a digital positive image to a negative:
Step 4: Creating The Hard Copy
Now that you have created your negative, you probably want to use it. In order to do so, you should print it on a transparency.
While you can print at several sizes (for example to use in a darkroom enlarger), I recommend starting with printing your negatives at Letter or A4 size. I will explain below why.
How To Print Your New Negative?
While you can print your negative on transparency at 135, or any medium format size to use in an enlarger, I recommend to print it at letter or A4 size.
By doing so you can create nice big contact sheets, and you don't even need an enlarger. A great technique to use this way is making cyanotype prints, which can be easily done at home: you prepare the paper with the emulsion, lay the negative on it, and leave it in the sun for a couple of hours.
Are you ready to start producing your own negatives and (cyanotype) prints?


