4 Ways To Meter Light When Using A Leica M4
About one year ago, when the world we live in was totally different, I acquired a pristine Leica M4 and a Summaron 35mm f/2.8.
It is a great camera, and after the first try-out, I have shot several rolls with it: both color and black and white film, especially my favorite: Ilford Delta 400.
I love shooting with this camera, not only because of the tool's built quality but also because of its relative simplicity. It is a fully manual camera, and I have only to set aperture and shutter speed for it to work. Of course, the film and the Exposure Index I decide for it to use at define ISO.
While the later Leica M5 and M6 boast a built-in light meter, the M4 lacks such frivolity, and I have to resort to other means of deciding on the 'right' aperture and shutter speed combination I want to use for each shot.
Since it lacks a built-in light meter, I have four options to meter light when using the Leica M4: the Sunny 16 rule, an iPhone light meter app, my Voigtlander light meter, and an old Gossen light meter.
Each of these methods or devices has its pros and cons, so let's look at each separately.
The Sunny 16 Rule
When I started using the camera, I started using the Sunny-16 rule to define my aperture, shutter speed combination, given the ISO of the film I was using. The Sunny 16 approach usually works very well when making images outside, especially when the light is very bright, and distinguishing between sunny, cloudy, and shadows is easy.
The Sunny 16 rule prescribes that in full sunlight, the shutter speed should be the reciprocal value of your film speed while using an aperture of f/16.
For example: when you are using a film of ISO 400, you set your aperture to f/16 and your shutter speed to 1/400 of a second (which will be 1/500 of a second for most cameras because of the available shutter speed).
Depending on the light conditions, you change either the shutter speed or the aperture to ensure you will get a correctly exposed image.
Assuming you want to keep your shutter speed at the reciprocal value of your film (in our example at 1/500 second), you would adjust the aperture as follows:
The Sunny 16 rule works remarkably well once you get used to it and learn how to read the light quality, and this is the way I currently shoot most of the time.
Pocket Light Meter App
Although the Sunny 16 rule works very well in most circumstances outside, I was not always 100% sure what my camera settings should be.
It also is my experience that the Sunny 16 rule doesn't work well when shooting inside. I eventually learned to guesstimate the right shutter speed and aperture combinations for inside situations but having a light meter still helps to get the best results.
For those times when I don't have any of my light meters with me, and I am not sure of the settings to use on the M4, I use the Pocket Light Meter app on my iPhone.
This app works very well: you select the ISO of the film in your camera and select the shutter time or the aperture. The app measures the light correctly and advises the aperture or the shutter time.
On your phone's touchscreen, you can select the point where the app measures the light.
You can adjust several settings: showing EV data, displaying white balance, setting exposure correction value, showing the focus point, and defining how to display shutter, aperture, and ISO stops (1/3, 1/2, or full).
You even can buy a Luxi Meter (the white dome to measure incident light) for your phone to use with the app.
This app works very well, and I recommend it.
Voigtlander VC II Light Meter
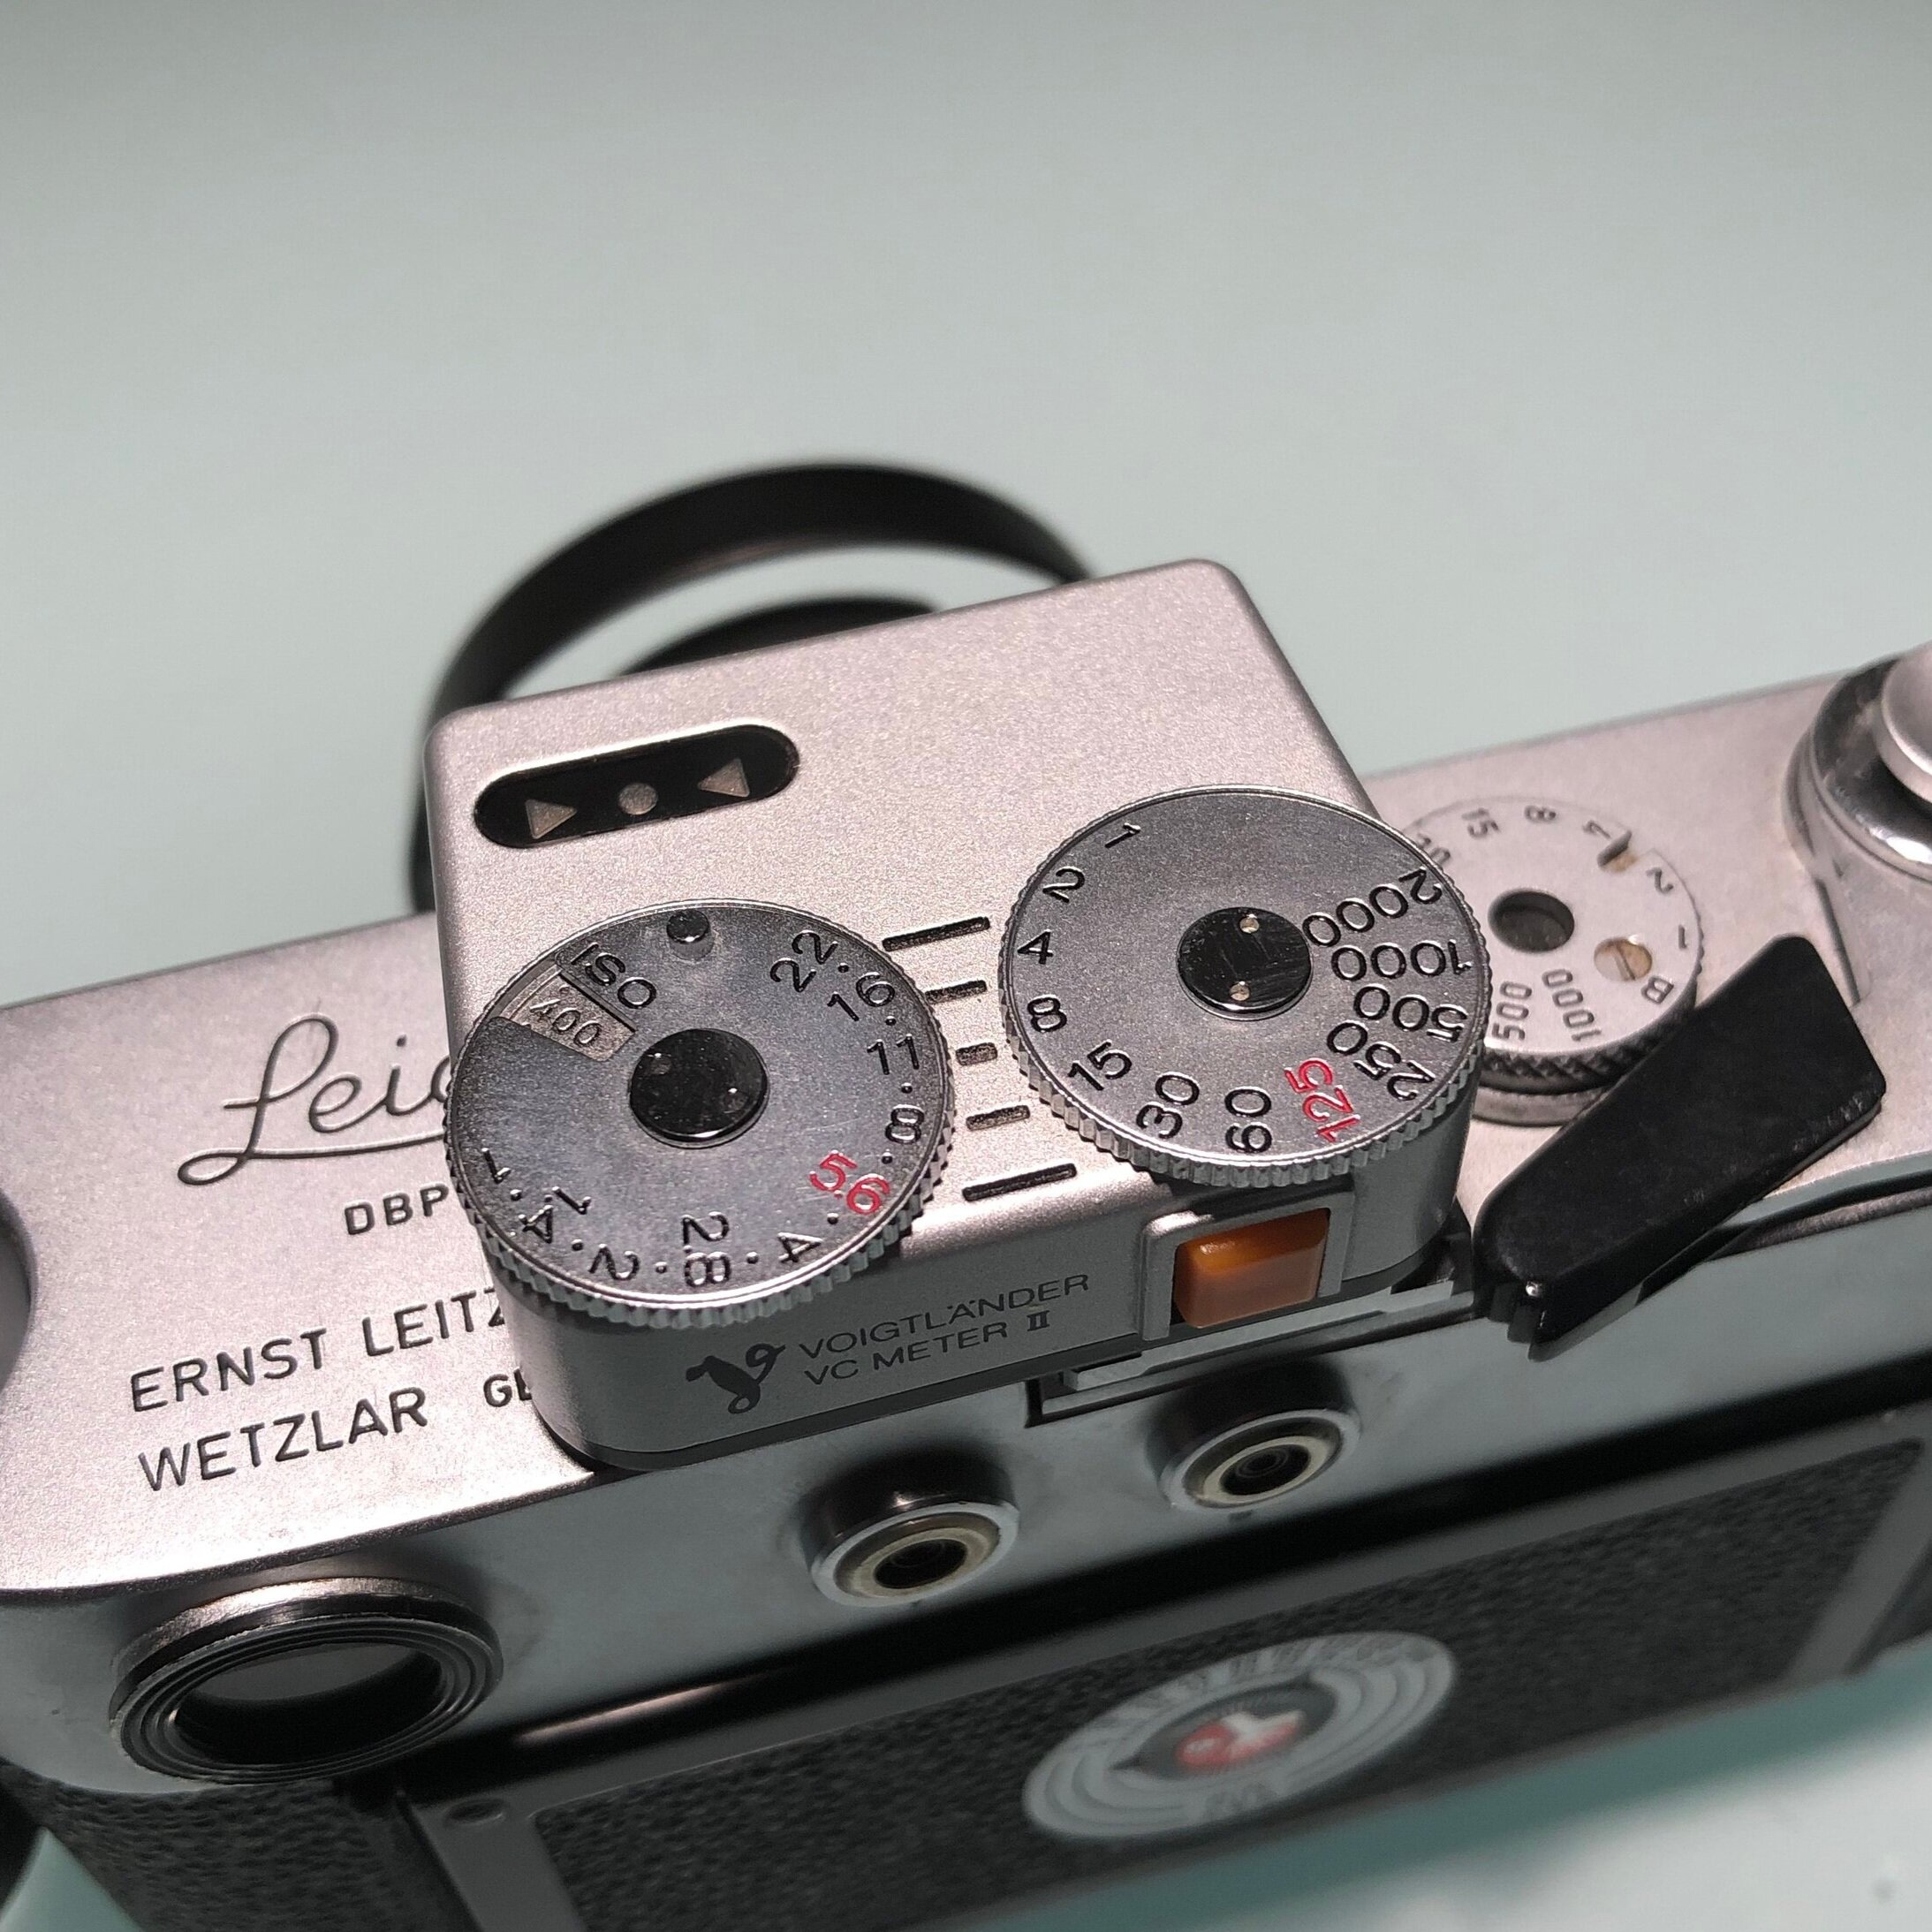
The best solution when I want to use a light meter is using the battery-operated Voigtlander VC II.
It is tiny and fits nicely in the cold shoe of the Leica M4.
Using this light meter is very easy. It has two dials on the top: one for ISO and aperture settings and one for shutter speed settings.
You set the ISO value depending on the film you are using.
To get a light reading, you push the orange button on the back, and three LEDs on top indicate overexposure, underexposure, or correct exposure.
You can then select an aperture/speed combination that provides a correct exposure (green light) by turning the dials.
The Voigtlander VC II has a couple of excellent features: the under and overexposure LEDs indicate what direction you need to turn the dials to get a correct exposure.
The black lines you see in the picture help to select alternative aperture/speed combinations that provide the same exposure. For example, the line in the middle shows f/11 and 1/8, but I immediately see that f/8 and 1/15 or f/16 and 1/4 will provide the same result.
A very well working and nice light meter that looks great on my M4
Gossen Pilot 2 Light Meter
One of the drawbacks (if you can call it that) of using a battery-powered light meter like the VCII is ...that it uses batteries. It is essential to regularly check the health of those to prevent taking under-exposed images or being on the streets with a not working light meter.
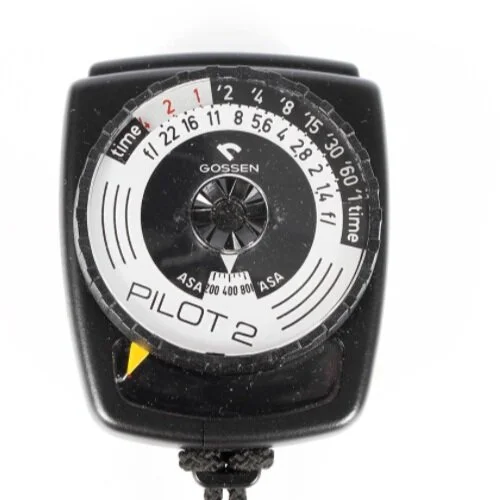
I , therefore, am still happy using old-fashioned selenium cell type light meters that do not need batteries, like my trusted Gossen Pilot 2.
This 70ies era light meter still works excellent, and it is straightforward to use. I love this meter because it shows several exposure combinations (aperture and shutter speed) at the same time, without having to push any buttons or having to take other additional actions.
Since it is an old selenium cell lightmeter, I need to ensure that it still is working correctly. Therefore, I compare its readings regularly with the readings I get from the Voigtlander VC II and my digital cameras.
I have to admit that, when I purchased the Leica M4, I had some concerns regarding whether I would be able to get decently exposed images with a camera without a built-in light meter.
Since then, however, I have experienced great results by either using the Sunny 16 rule or using one of my lightmeters: the Lightmeter App, the Voigtlander VC II, and the Gossen Pilot 2.
How do you decide on your shutter speed and aperture when shooting with a camera without a built-in meter?


